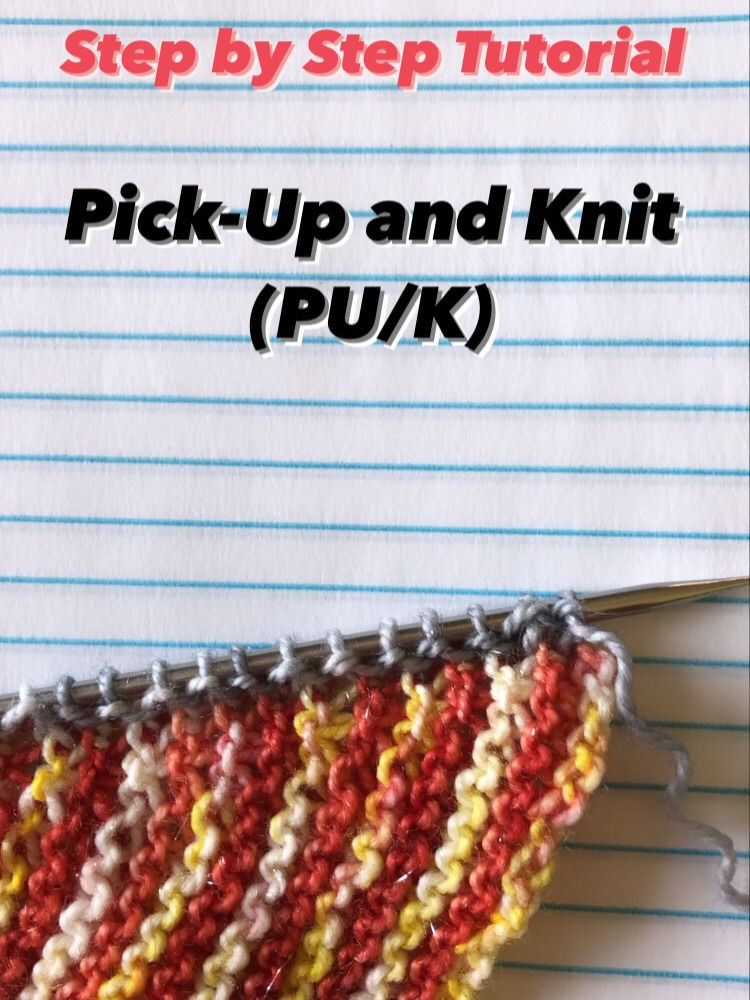
Pick-Up and Knit (PU/K) Step by Step Tutorial!
- Shaina Scott
- Aug 4, 2020
- 2 min read
Hello!
This week I'll be sharing a tutorial for the Pick-Up and Knit (pu/k) technique so that you can change directions in your knitted fabric. It works easiest (and is shown here) when worked into an edge that has a slipped-stitch selvedge so that you can see right where to put your needle each row.
A slipped-stitch selvedge, if you're not sure, is simply when the last stitch on a row has been slipped purl-wise from the left needle to the right without being worked. When it's knit on the next row as the first stitch, a little hole will be made between the single edge stitch that was slipped and the other stitches. This little hole is where you'll insert your needle when picking up stitches to knit into for this tutorial.
Using this slipped-stitch selvedge method there will be one hole for every 2 rows which works out pretty perfectly for garter-stitch projects. Other stitch patterns may require more or less stitches picked-up than this so please pay attention to the amount of stitches your pattern asks you to pick-up. Since I'm using a garter-stitch based pattern for this tutorial, we'll be picking up 1 stitch for every 2 rows of knitted fabric. (So, 1 stitch in each hole along the edge of the fabric.)
Have fun & happy knitting!
Shaina ^_^
PS: The yarn featured in this tutorial is from from The Girl Who Crafted in the Lady Edith (red), Pink Lemonade (yellow), & Wolves of Winter (gray) colorways. The project I'm knitting on is the Dragon Force shawl.
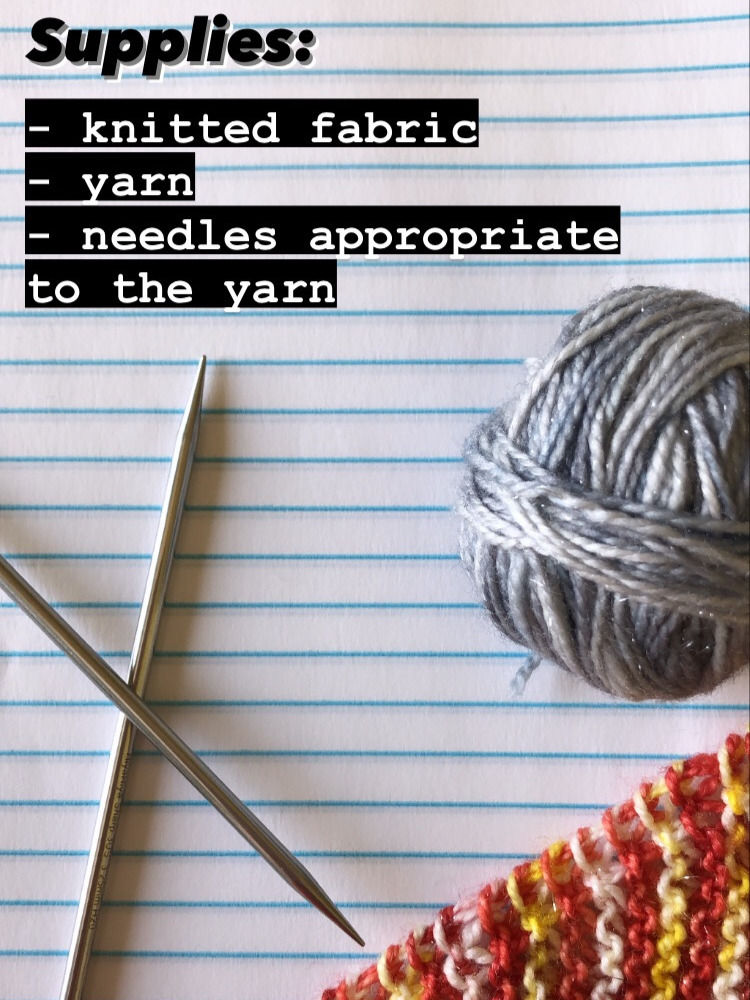
Supplies:
Knitted Fabric
Yarn
Knitting Needles Appropriate to the Yarn
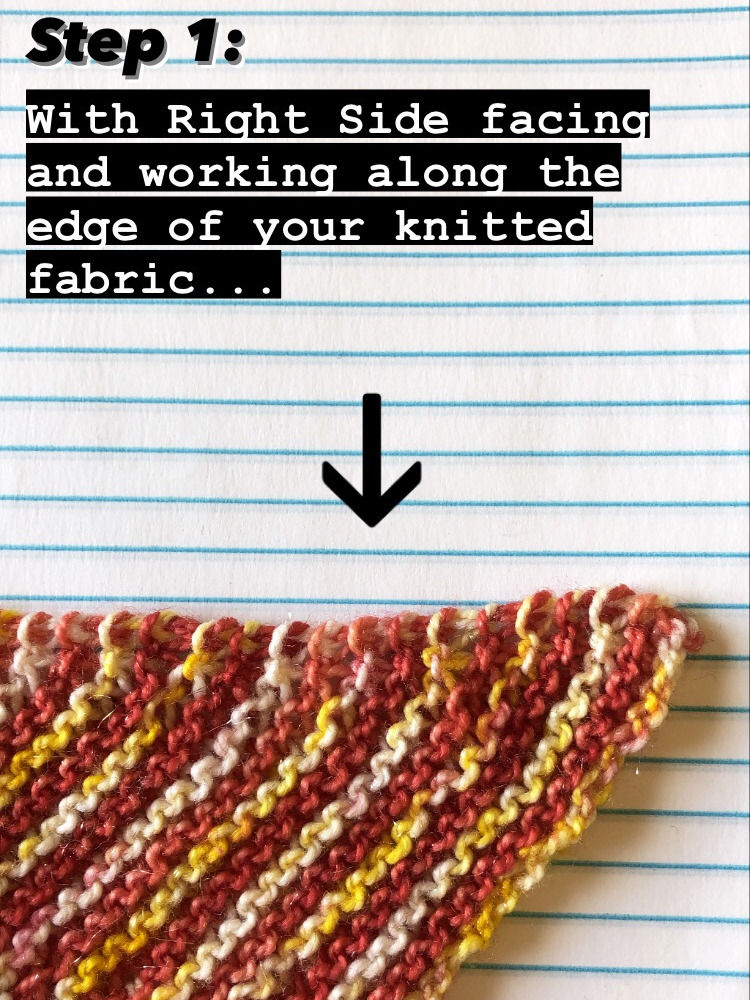
Step 1:
With Right Side facing and working along the edge of your knitted fabric...
Step 2:
Insert right needle into the slipped stitch from front to back...
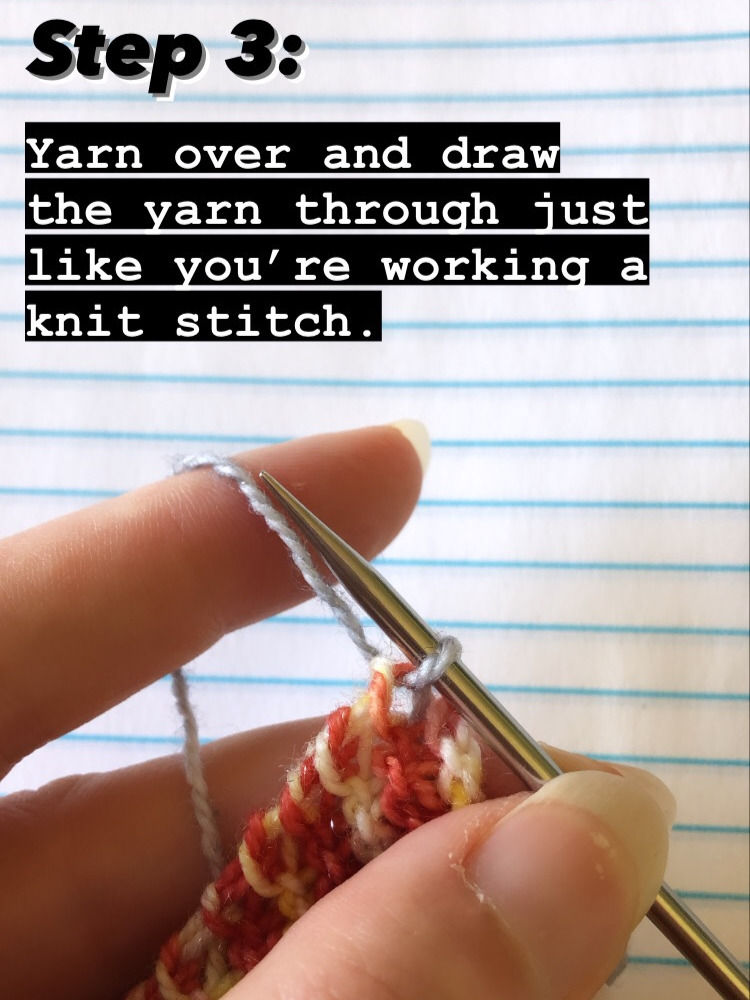
Step 3:
Yarn over and draw the yarn through just like you’re working a knit stitch.
Continuation:
You can now continue working the patterning along the "side" of your project.
That's it!
You've just Picked-Up and Knit along the side of your knitted fabric!
Try Knitting in Different Directions with these Patterns:
$5.99 USD
(Linked to the YumiYarns shop)
$5.00 USD
(Linked to Love Crafts)
$5.99 USD
(Linked to Ravelry)


Comments